Why write rn#
One reason is that I haven't really written rn seriously yet and I want to try out its experience. Plus, I've been interested in the Follow RSS reader recently, but it doesn't have a mobile version yet, so it can be my learning and practice target. Another reason is that I recently started working and I always lack motivation to write code after work. Having a goal makes it easier for me to focus.
At the same time, I'm setting a goal to write a weekly updated blog about my learning and development process. Welcome everyone to follow.
Preparation#
hello world#
Alright, enough talk, let's get our first app up and running. But as the saying goes, "To do a good job, one must first sharpen one's tools." So let's prepare the environment first.
In general, you only need to install Xcode, but if you, like me, have recently upgraded to macOS beta, it can be a bit troublesome:
- Xcode in the App Store cannot be opened because it doesn't match the system version.
- The downloaded Xcode beta cannot be opened directly and prompts
the plug-in or one of its prerequisite plug-ins may be missing or damaged and may need to be reinstalled., so you need to manually install the packages underXcode.app/Contents/Resources/Packages/. See https://forums.developer.apple.com/forums/thread/660860 for more information. - In the command line, you need to select the beta version of Xcode you are using with
xcode-select -s /Applications/Xcode-beta.app.
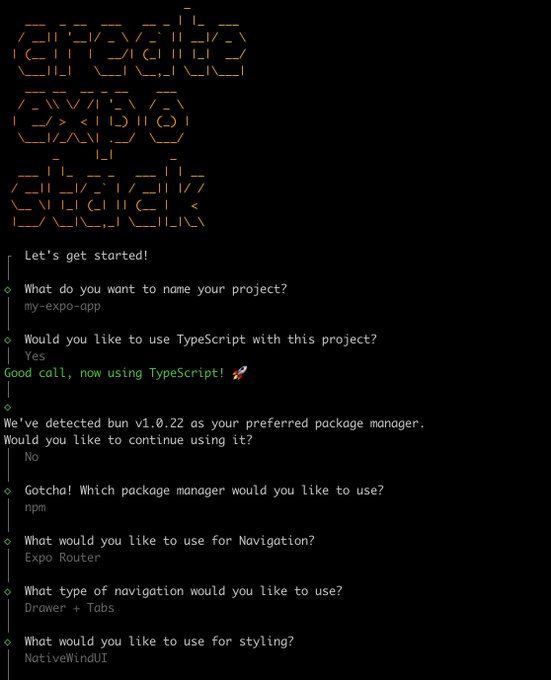
Then you need a nice scaffolding tool. I'm not familiar with the technology stack on the rn side, so after reading State of React Native, I chose Create Expo Stack that I saw on Twitter before.
In addition to being a scaffolding tool for an expo project, it also provides many combinations of mainstream technology stacks, which is very friendly for me to start writing the app as soon as possible. The combination I ultimately chose is:
npx create-expo-stack@latest follow-app --expo-router --tabs --tamagui --pnpm --eas
Handling dark mode#
The scaffolding tool only supports light mode by default, which I can't accept as a perfectionist, so let's handle it first. Referring to this issue, I need to modify the expo settings to:
{
  "expo": {
    "userInterfaceStyle": "automatic",
    "ios": {
      "userInterfaceStyle": "automatic"
    },
    "android": {
      "userInterfaceStyle": "automatic"
    }
  }
}
Then your useColorScheme will be able to correctly obtain the user's currently selected theme mode. However, please note that after modifying this configuration, you need to execute expo prebuild again to ensure that the value of the key UIUserInterfaceStyle in the Info.plist file is set to Automatic.
Let's get started#
Alright, now let's write the Follow app!
Login#
Although the expo documentation has a detailed Authentication integration guide, we don't need to use it. The web version of Follow has already handled it, so we just need to call the web version's login and register the scheme link that the web login will redirect to.
First, set the app's scheme. Set scheme: 'follow' in the app config, and then run expo prebuild.
Open the Follow login page with expo-web-browser:
await WebBrowser.openBrowserAsync('https://dev.follow.is/login')
Then register the url listener event with expo-linking. After receiving the url information triggered by the login web page, parse the token inside it.
Linking.addEventListener('url', ({ url }) => {
  const { hostname, queryParams } = Linking.parse(url)
  if (hostname === 'auth' && queryParams !== null && typeof queryParams.token === 'string') {
    WebBrowser.dismissBrowser()
    if (Platform.OS !== 'web') {
      SecureStore.setItemAsync(SECURE_AUTH_TOKEN_KEY, queryParams.token)
    }
  }
})
Here, I also encountered a problem where window.open in the asynchronous function on Safari on iPhone doesn't work, so I need to add the parameter target="_top". Refer to https://stackoverflow.com/q/20696041/15548365 for more information.
Since the url will jump to the auth page, we can add a route app/auth.tsx to redirect it to the homepage.
import { router } from 'expo-router'

export default function Auth() {
  router.navigate('/')
  return null
}
OK, now we can get the user's authentication credentials. Let's try calling an API.
Get user information#
Making network requests in rn looks the same as in web, we can still use our favorite libraries.
function useSession() {
  return useSWR(URL_TO_FOLLOW_SERVER, async (url) => {
    const authToken = await SecureStore.getItemAsync(SECURE_AUTH_TOKEN_KEY)
    const response = await fetch(url, {
      headers: {
        cookie: `authjs.session-token=${authToken}`,
      },
      credentials: 'omit',
    })
    const data = (await response.json()) as Session
    return data
  })
}
Here, I made a little unconventional setting temporarily because there are some known issues with cookie-based authentication in rn. If you don't set credentials: 'omit', it will set an incorrect cookie on the second request, causing the request to fail. This is based on the approach mentioned in https://github.com/facebook/react-native/issues/23185#issuecomment-1148130842.
Now that we have the data, we can render the page. Let's start with something simple:
export default function UserInfo() {
  const { data: session, mutate } = useSession()

  return (
    <YStack flex={1} padding={20}>
      {session ? (
        <YStack>
          <XStack gap={24} alignItems="center">
            <Image
              source={{
                uri: session.user.image,
                height: 100,
                width: 100,
              }}
              borderRadius={50}
            />
            <YStack gap={8}>
              <Text color="$color12" fontSize="$8" fontWeight="600">
                {session.user.name}
              </Text>
              <Text color="$color12" fontSize="$5">
                {session.user.email}
              </Text>
            </YStack>
          </XStack>
        </YStack>
      ) : (
        <Button onPress={handlePressButtonAsync}>Login</Button>
      )}
    </YStack>
  )
}
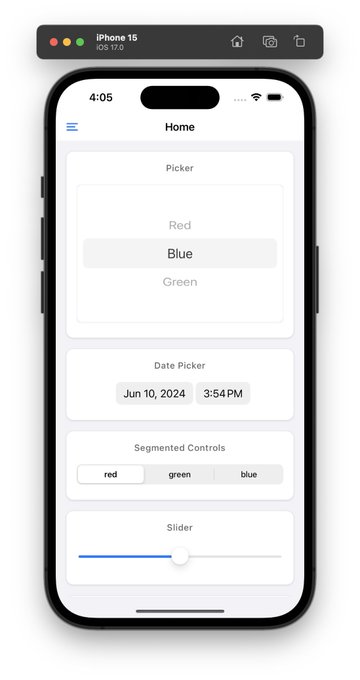
Alright, let's see the current effect.
Oops, it looks like the web version of Follow still needs some mobile adaptation. I can make a PR again.
Summary#
Finally, we have a running software. What should we do next week? Maybe setting up a database for the app? When writing the app, I hope we can browse our subscriptions normally in weak or even no network environments. Welcome everyone to share your thoughts.